Red White and Blue Cake Recipe for Festive Summer Desserts
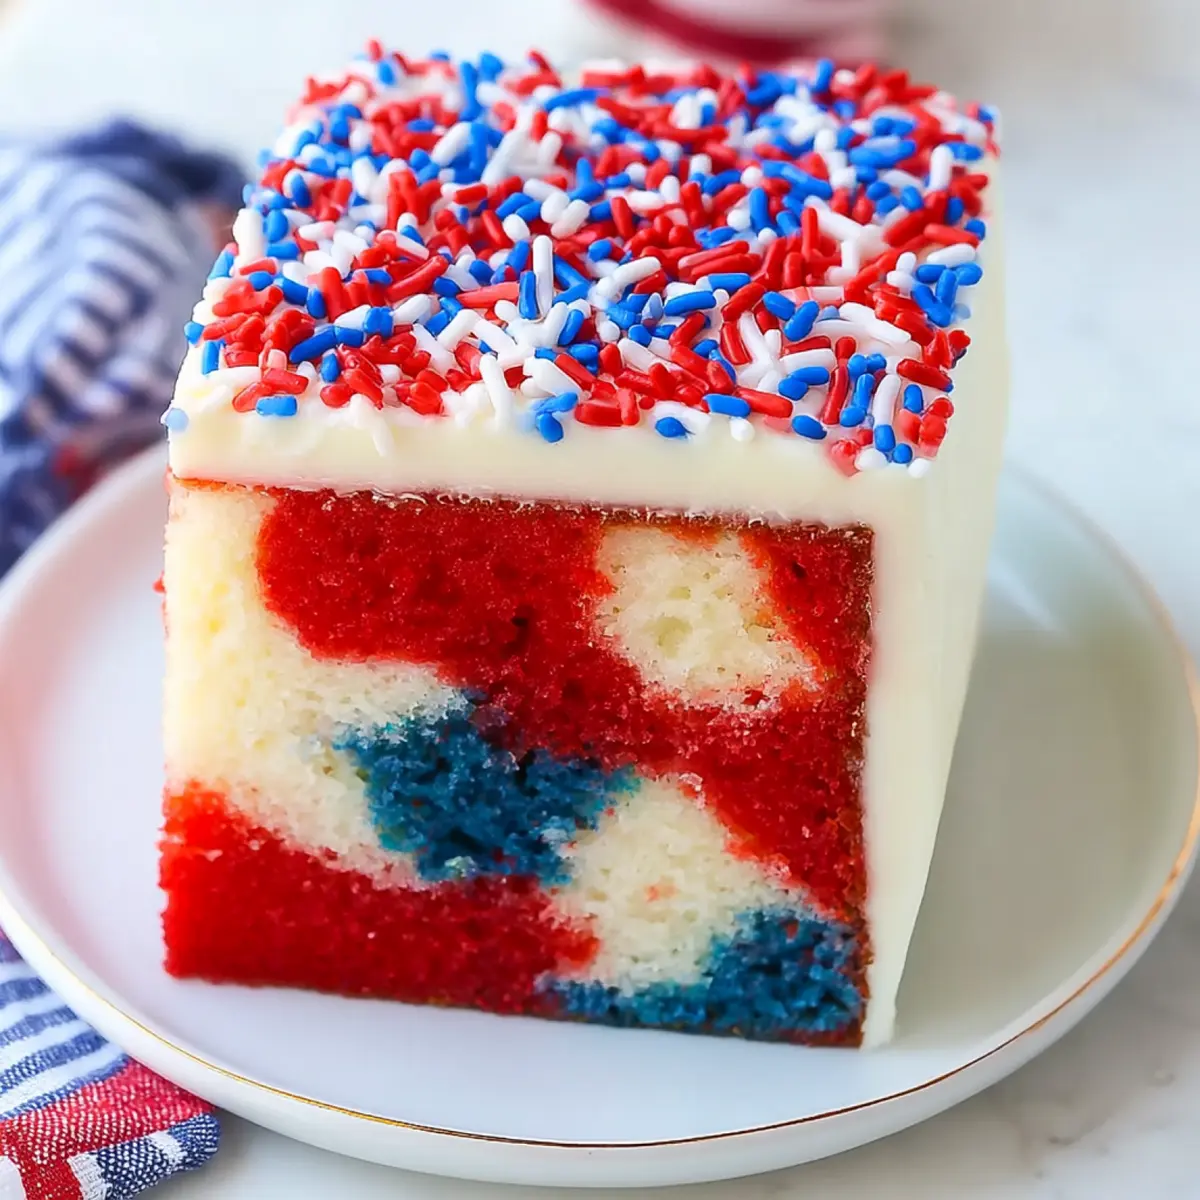
It never fails—the moment you walk into a summer party carrying a Red White and Blue Cake, everyone lights up. Maybe you’re getting ready for a Fourth of July bash, or you’re just in the mood for some color on an ordinary afternoon. This is the sort of dessert that steals the show with almost no effort, bringing both a playful pop of color and a creamy, cool finish that’s endlessly inviting.
Beneath a cloud of whipped topping, you’ve got sweet, tender cake stitched with stripes of red and blue. Poke cakes always promise a fun surprise inside, and this version is as festive as they come. The creamy cheesecake pudding sneaks into every bite, making each forkful a blend of light, fluffy cake and rich, silky filling. Honestly, it’s hard to resist going back for seconds.
Bringing Color to Your Celebration
If you’re looking for a dessert that’s both a conversation piece and a genuine crowd-pleaser, Red White and Blue Cake is your answer. This isn’t just a regular poke cake—it’s a celebration on a plate. The streaks of vivid color make each slice look like a party, and that creamy center keeps people coming back for just one more forkful.The magic of this cake is all in how the pudding soaks into the holes, making it super moist and bursting with simple, sweet flavor. It’s not fussy or complicated—just good, old-fashioned fun in dessert form. Whether you’re serving it with fireworks outside, or just need something cheerful for a Sunday meal, this cake never fails to brighten up the table.
Festive Ingredients for Red White and Blue Cake
Here’s what you’ll need to create this lively and creamy Red White and Blue Cake. These simple ingredients come together to show off classic summer flavors and that signature colorful swirl:- cake mix – The base of the cake, offering a fluffy, even texture and cutting down on prep work.
- Red/Blue food coloring – The source of all that festive color, allowing you to customize the shades as bold or as pastel as you like.
- Cheesecake flavored instant pudding – Adds a creamy, tangy sweetness that sets poke cake apart from ordinary cakes.
- Milk – Helps the pudding mixture come together smoothly, soaking into every poke and providing that silky finish.
- Whipped topping – A cool, cloudlike layer that ties everything together right before serving.
- Festive sprinkles and/or fresh fruit – The perfect final flourish on top for even more color and a touch of crunch or freshness.
Die vollständige Zutatenliste mit Mengenangaben findest du unten in der Rezeptkarte.
How to Make Red White and Blue Cake: Step-by-Step
Ready to get baking? Here’s how to layer those colors and flavors in a few simple steps:- Preheat your oven and grease a 9×13 baking pan so nothing sticks and you get clean slices later.
- Mix together the cake mix, following the instructions on the box for the wet ingredients. The batter should look smooth and a little glossy.
- Divide the batter into two bowls—one for red, one for blue.
- Add the red food coloring to one bowl and blue to the other. Mix until you reach the shade you want—bright and bold or soft and pastel both work.
- Drop spoonfuls of colored batter into the pan, alternating colors for that marbled, striped effect. Swirl gently if you want a more tie-dye look.
- Bake until the cake springs back gently and a toothpick inserted in the center comes out clean. The colors will brighten up as it bakes.
- Let the cake cool completely in the pan—this step is key so it holds together when poked later.
- Make the cheesecake instant pudding: whisk the mix and milk together until completely smooth and thickened.
- Use the handle of a wooden spoon or a thick straw to poke holes all over the cake, about three-quarters deep. This is where your pudding will seep in.
- Fill a piping bag or use a small spoon to add the pudding into every single hole. Smooth any excess leftover across the surface.
- Cover the cake with plastic wrap and chill in the fridge for a few hours so everything sets and flavors meld together.
- When you’re ready to serve, cover the top with whipped topping, and then go wild with sprinkles or fresh berries for a festive finish.
Tips for the Perfect Poke Cake
Getting a Red White and Blue Cake just right comes down to a few tricks and details that make all the difference:- Don’t start poking until the cake is fully cooled—warm cake will tear or collapse under the spoon handle.
- Go gently with the food coloring: Start with a few drops, then add more if needed. Overdoing it can give harsh flavors or muddy colors.
- Poke holes all over—don’t skimp. Evenly spaced holes mean every bite is just as moist and creamy as the next.
- If you don’t have a piping bag, a zip-top bag with the corner snipped off works just as well for filling the holes with pudding.
- Let the cake chill long enough for the flavors to seep and the pudding to set for those perfect creamy layers.
- When slicing, wipe the knife between cuts for sharp, colorful layers.
Fun Variations and Serving Ideas
This poke cake is all about the celebration, but you can make it fit almost any occasion or personal taste:- Swap the cheesecake flavored pudding for vanilla, white chocolate, or even lemon for a different twist.
- Top with a mix of strawberries, blueberries, and raspberries for classic summer berry style.
- Try sprinkling the top with patriotic jimmies, edible glitter, or crushed freeze-dried berries for crunch.
- Serve chilled, straight from the fridge for the best texture—extra refreshing on a hot day.
- If you’re making this for another holiday, switch to other colors and matching sprinkles.
Making Ahead and Storing Red White and Blue Cake
Red White and Blue Cake is ideal for making ahead—if anything, the flavors and textures get better with a little time in the fridge. Store the cake covered tightly in the refrigerator until ready to serve. Waiting to add whipped topping and sprinkles until just before serving keeps everything crisp and colorful.Leftovers will keep up to several days in the fridge, though the colors might softly meld and the sprinkles can lose their crunch over time. If your cake includes fresh fruit, add it right before serving for the best texture.
Freezing isn’t recommended for fully assembled poke cake with whipped topping, but you could freeze the baked, undressed cake layer ahead of time. Let it thaw in the refrigerator before adding the pudding and toppings.
FAQs about Red White and Blue Cake
Can I use homemade cake instead of cake mix for Red White and Blue Cake?
Yes, homemade white cake can be used in place of boxed cake mix. Just be sure to choose a recipe that produces a fluffy, tender crumb.
How far ahead can I make Red White and Blue Cake?
You can make the cake a day in advance. Store it in the fridge and wait to add the whipped topping and decorations until you’re ready to serve.
Can I freeze Red White and Blue Cake?
It’s best not to freeze the fully finished cake with whipped topping. You can bake and freeze the plain cake, then thaw and assemble just before serving.
What if I don’t have cheesecake pudding?
Vanilla or white chocolate instant pudding works nicely as a substitute. The cake will still turn out creamy and delicious.
One Slice for Every Celebration
A tray of Red White and Blue Cake brings a pop of color and a little bit of magic to the table, no matter the holiday. It’s easy enough for weeknights but festive enough for any big gathering. With that soft, tender crumb, creamy pudding core, and cheerful topping, every bite feels like a celebration all its own. Enjoy it cold, with the clouds of whipped topping catching the light—pure dessert joy in every forkful.What To Try Next
Here are some sweet treats and festive desserts that you might enjoy after your Red White and Blue Cake.
- Philadelphia Torte ohne Backen — a no-bake creamy option that pairs well with berry flavors.
- Strawberry Pretzel Cheesecake Bars — perfect for summer gatherings with a sweet and salty mix.
- Erdbeerkuchen mit Paradiescreme — combines fresh strawberries and creamy textures for a luscious dessert.
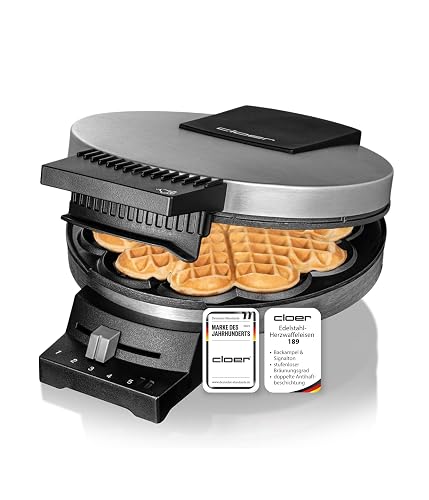
Empfohlene Ausrüstung

Westmark 32732260 Non-Stick Round Baking Pan
Ideal for baking red white and blue cakes
Bei Amazon ansehen
* Als Amazon-Partner verdiene ich an qualifizierten Käufen. Für dich entstehen keine Mehrkosten.
Red, White, and Blue Poke Cake
Ingredients
Equipment
Method
- Preheat oven to 350 degrees and grease a 9x13 baking pan.
- In a mixing bowl, combine the cake mix with the water, eggs, and oil called for on box.
- Once prepared, separate cake batter into two medium bowls.
- Add red food coloring to one bowl and blue food coloring to the other bowl. Stir and continue adding more drops until desired color is reached.
- Place spoonfuls of the batter in the cake pan alternating between colors until all has been used up.
- Bake cake in oven for about 25 minutes, or until toothpick comes out clean when inserted in center.
- Set cake aside to fully cool.
- Meanwhile, in a small bowl, whisk together the pudding mix and milk until smooth.
- Poke holes in cake using the handle of a wooden spoon or large straw. Only go about 3/4 down into cake and cover entire cake with holes.
- Place pudding mixture into a piping bag and fill each hole. If preferred, you can also use a spoon to add mixture to the holes in cake.
- Cover cake pan with plastic wrap and store in fridge for about 4 hours.
- Just before serving, spread whipped topping evenly on top and add sprinkles or fresh fruit. Serve and enjoy!